Cabinet Assembling
Now that you have everything cut out and sanded it is time to start putting it all together. Depending on the size of the cabinet you can do this on a bench, some saw horses or on the floor.
Start with one of the sides. Glue the end of the bottom and put it in place. For an unfinished side you can nail it from the outside.
Copyright 2005-2025 Cabinet Planner LLC
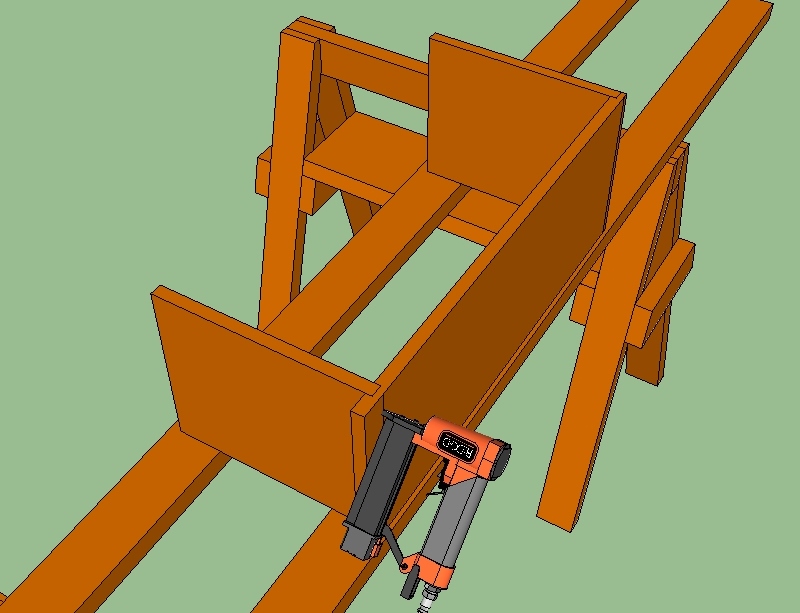
For a side that will be exposed you can nail it from the inside at an angle. Make sure your nails are not too long. Do the same for the top of the cabinet.
Then repeat for the other side.

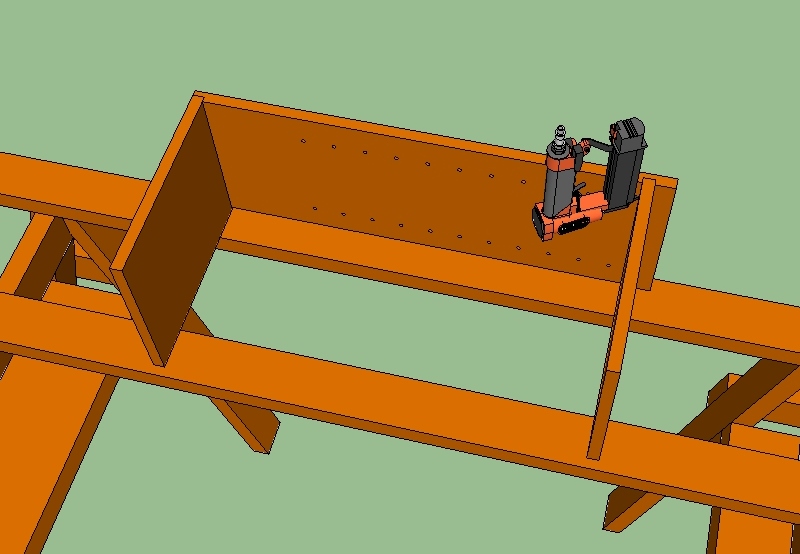
Now glue the front edge of the side, top and bottom and put the face frame in place. You can nail the faceframe on the top where your crown or trim will hide the nails.
And for cabinets with overlay door you can nail the faceframe along the top of the bottom rail.
The sides are best to be clamped.
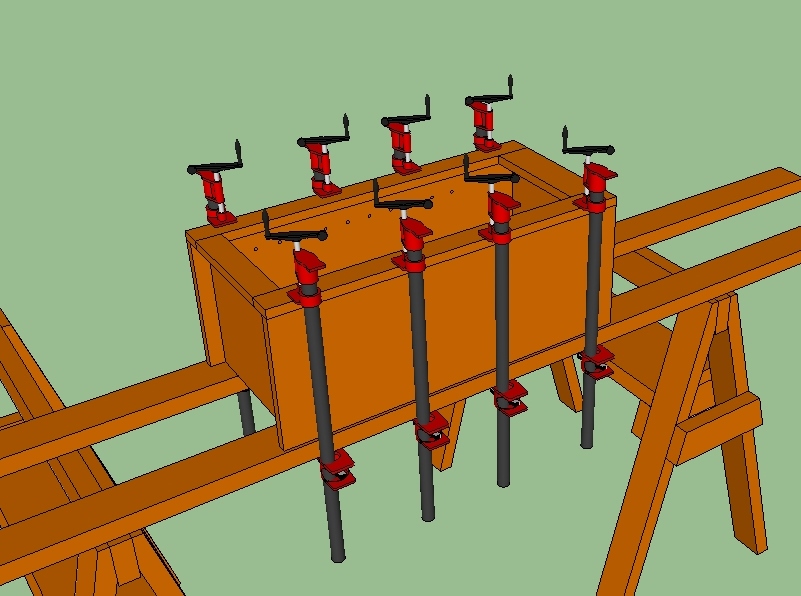
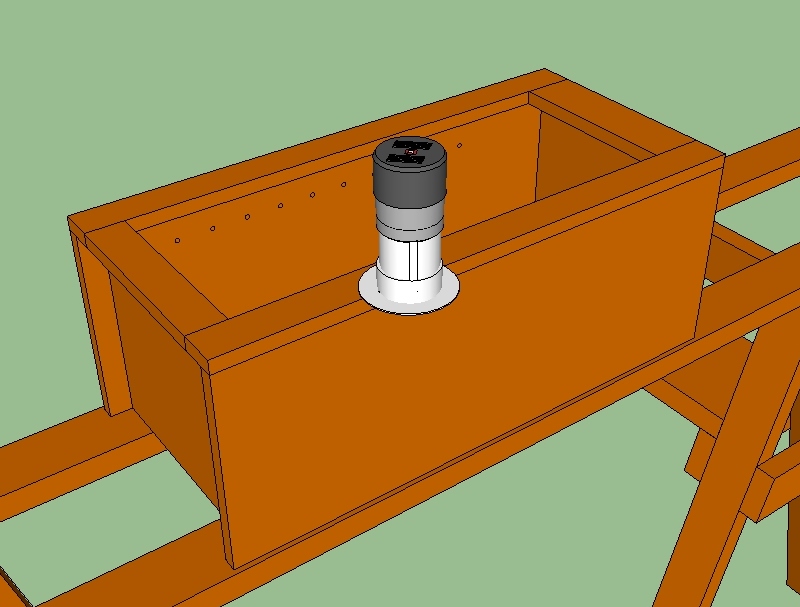
Remove the clamps after your glue has dried and then use a scraper to remove any excess glue. If you made the faceframe with a little overhang on the sides you can use a router to trim it flush with the cabinet’s side.
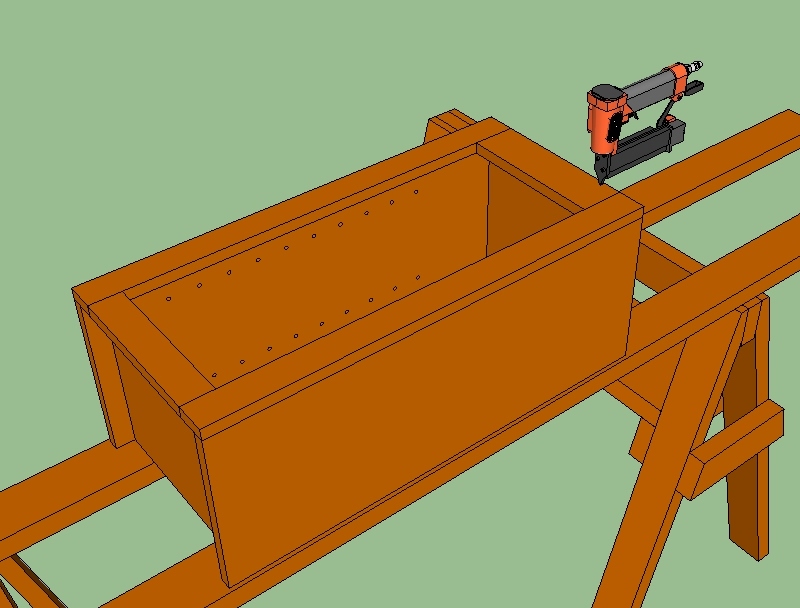
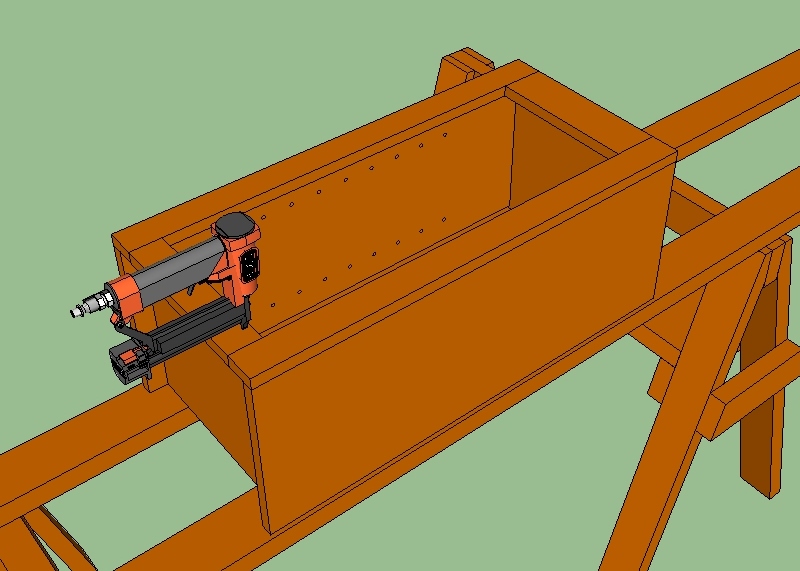
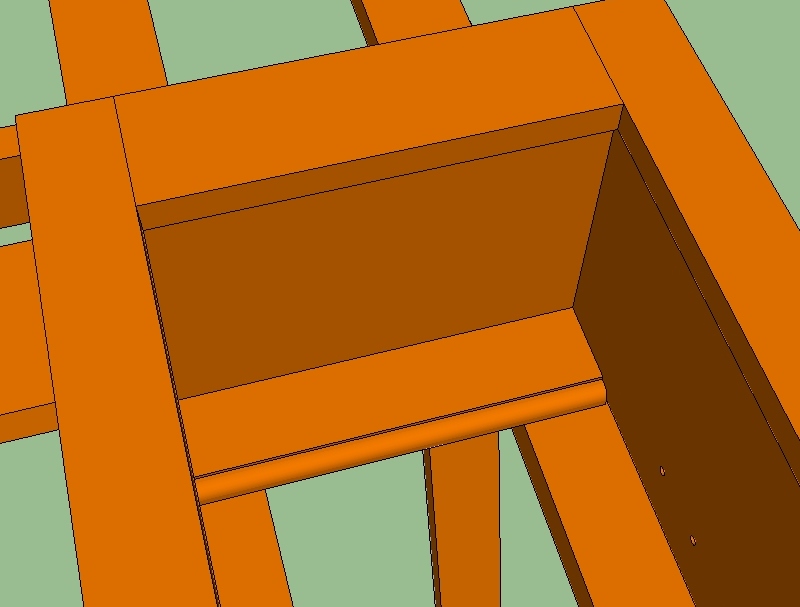
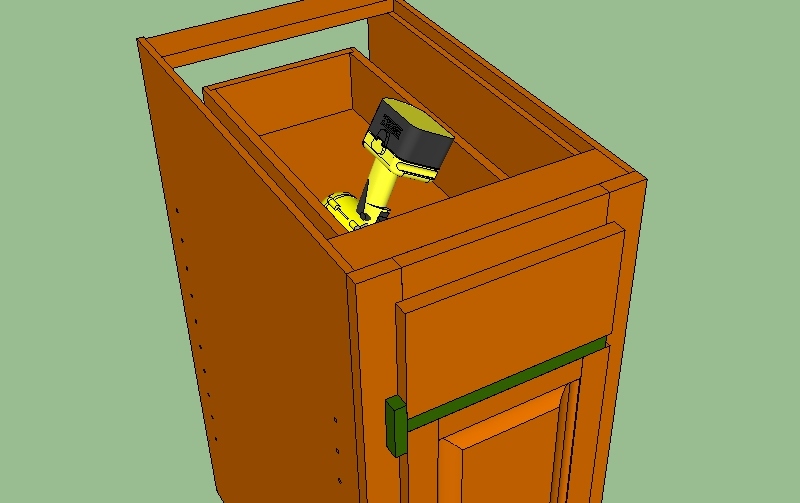
Now glue up and install the screw strip. You can nail it through the side if it is not an exposed side. Then run a few screws down through the top.
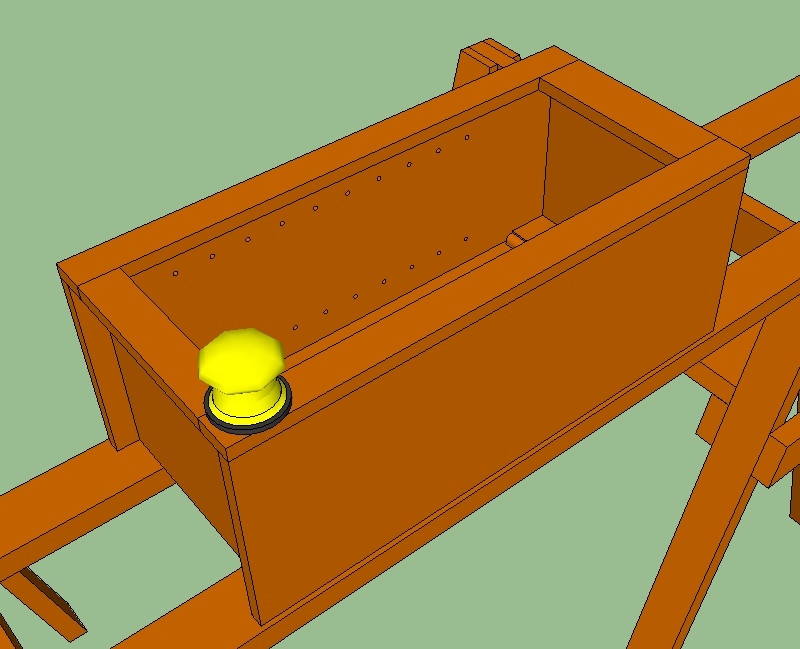
The cabinet is now ready to be sanded. If you have any uneven areas on the face frame you can flatten them out with a belt sander with a 120 grit belt. Then use your orbital sander with 120 grit and follow that with 220 grit. You can also sand the back at this point but do not add it to the cabinet until after it has been stained and finished.
Once everything has been sanded it is time to start staining. If you noticed, everything has been finish sanded with 220 grit. This is to ensure that everything will stain up the same color. If some of the parts were only sanded with 120 grit they would stain up darker than the ones with the 220.
The variety of stains and finishes available is extensive. For that reason I won't go into which type to use. If you are unsure what might work best for you, go to a local paint dealer. They will be happy to go over your options and sell you what they believe will be best for your situation and equipment.
Overall the process is the same for all types of finishes. You will apply the stain and remove any excess. When the stain is dry you apply a coat or two of sealer, sand and then apply the finish coat.
Hanging the doors can go quickly if you use a spacer and a few spring clamps to help hold the overlay while drilling and screwing the hinges. If you are using concealed (European type) hinges you may need to add blocking for the hinge plates or use hinge plates made specifically for face frames. There are a lot of different types of hinge plates for various uses.
Hanging doors with traditional face mounted hinges.
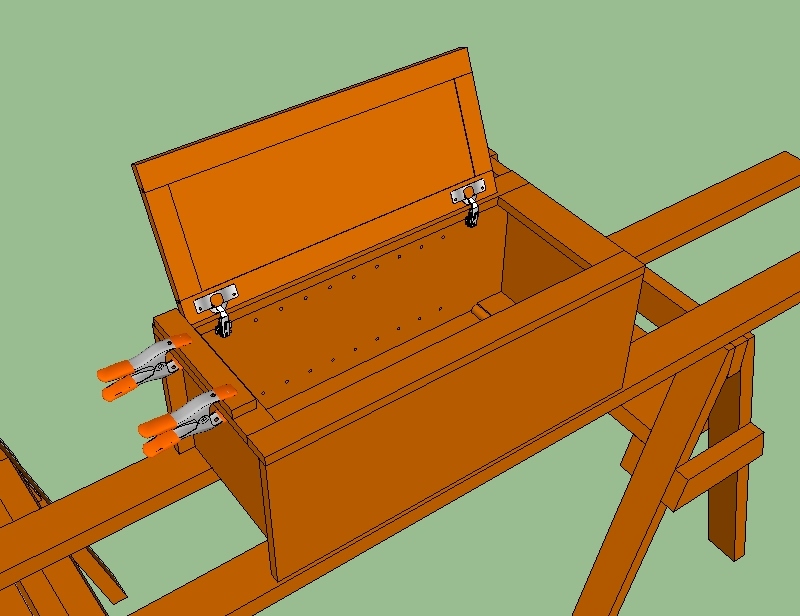
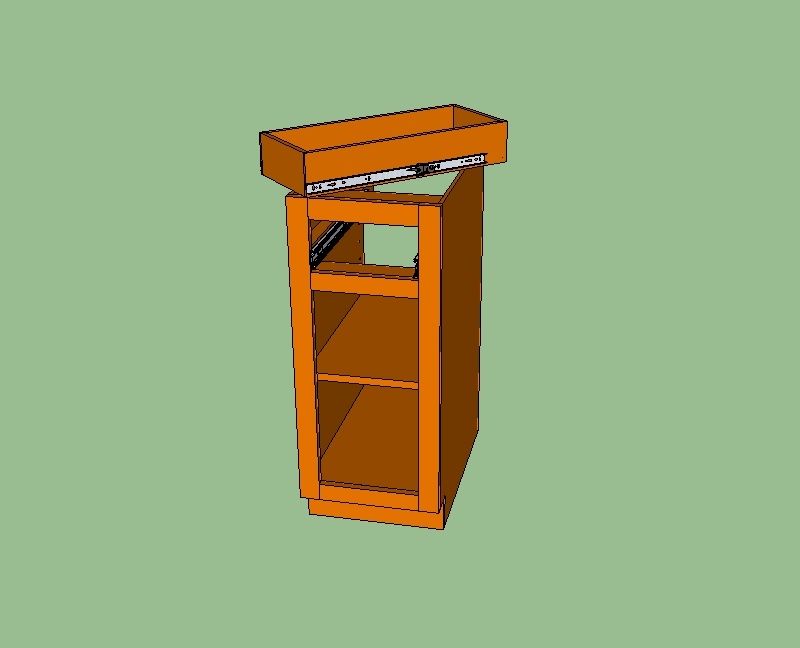
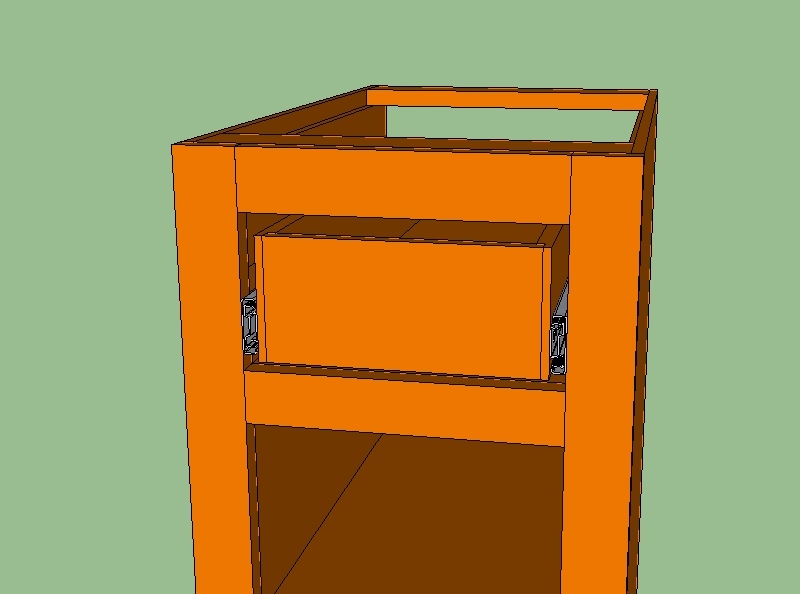
With the doors hung you can now install your drawer boxes in the base cabinets. With faceframe cabinets you will need to add fillers for mounting the drawer slides. With those installed you can add the slides to your cabinet and drawer box.
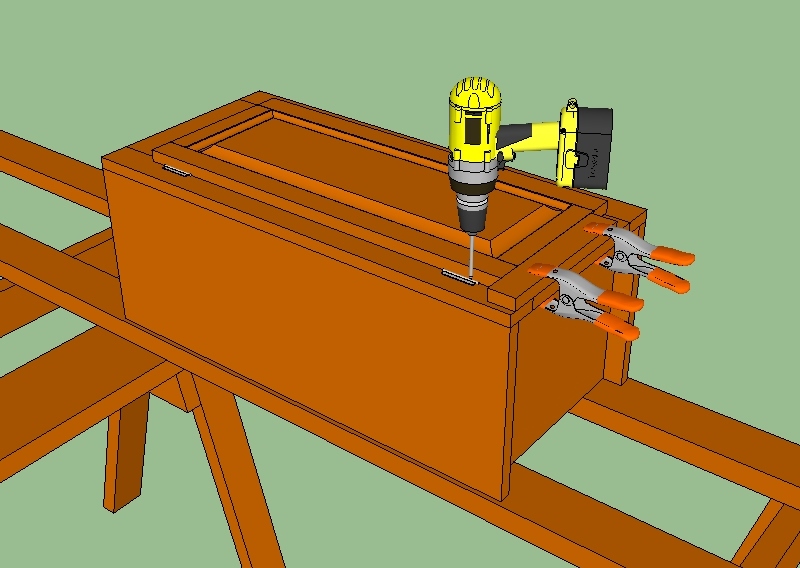
Then insert the drawer. Drill four holes for screwing the drawer front to the drawer box.
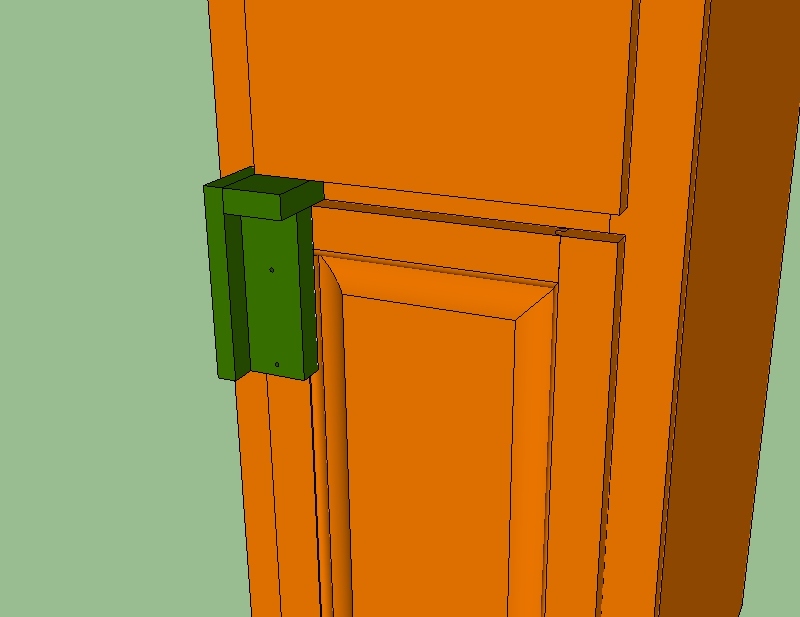
Then use a spacer (green below) to hold the drawer front in its proper location and screw the drawer front in place.
Now make a jig as below for drilling the holes for the handles or knobs on the doors. With the way it is made you can use it on left or right swing doors.
For drawer fronts, make a jig as shown below, one for each height of drawer front you may have. With this type of jig you only need to make a temporary pencil mark on top of the drawer front in the center of where you want the pull. Works well for longer drawer fronts that have two pulls.